Writing a report whether for school, for university or for a job is something most people will come across at least once in their life. One of the key features of a report is a table of contents. But instead of entering all the page numbers manually, and spending hours formatting it, most word processor applications such as Microsoft Word for Windows and Mac, and the Pages application from the iWork suite for Mac have a the table of contents feature built in.
This post is separated into three parts depending which software/system you are using.
Please scroll down to find the section relevant for you!


If you liked this post, or found it useful, please feel free to share with your friends to pass the info on using the buttons below.
This post is separated into three parts depending which software/system you are using.
- First is Pages for Mac,
- Second is Word for Mac,
- Third is Word for Windows
Please scroll down to find the section relevant for you!
Adding a table of contents to Pages '09 for Mac
Our first step would be to open the Pages app, and create a blank document. Once done, insert a page break by choosing the Page break option from the Insert menu up the top. On the second page that is created, choose the insert menu again, but this time, choose Table of Contents from the list. The reason we create the table on the second page is so that we can use the first page as the cover page.
You will then get the following:

This is good. This means that your table of contents is now reading the document, and looking for headings. Insert another page break after the table of contents text.
Now lets say for this particular project we are writing an assignment about cheese. We then need to enter some headings and sub-headings and so on.
If you don't already have the "styles drawer" open, click it by selecting the blue circle icon below the view button on the far left hand side of the application window. (shown in a red circle below)

The choose your headings in descending order from the paragraph styles section to have a tiered view of the table of contents (shown in green circle).
Once you have your headings ready you want to use in your assignment, start typing them out.
With the example I have used you can see that as I have used more sub headings, more sub headings are created. I have used a Heading 1, 2, and 3 which can be seen in the picture below

Now that I have my headings written down, and a bit of text, we can go back to the table of contents, and update it to reflect the new headings, and their page numbers.
This will automatically update as you change and move sections of your report around all you need to do it click the table once and it updates to the current information it pulls from the document.
Adding a table of contents to Microsoft Word 2011 for Mac
Our first step would be to open Microsoft Word, and create a blank document. Once done, insert a page break by choosing the Page break option from the Insert menu up the top. On the second page that is created, choose the document elements tab from the list of tabs across the top of the application, then choose the "Insert" option under "Table of Contents" heading. The reason we create the table on the second page is so that we can use the first page as our cover page.
You will then get the following:


 Now we can update our table of contents. to do so, click the table, then click the drop down box up the top left, and choose to update the table. And it will look like this.


This is good. This means that your table of contents is now reading the document, and looking for headings. Insert another page break after the table of contents text.
Now lets say for this particular project we are writing an assignment about chicken. We then need to enter some headings and sub-headings and so on.
Back on the home tab, choose the Styles button up the top of the screen, and then in the list, there are plenty to choose from to help define your table of contents and how your tiered look will shape out to be.

We now have the start of our document with a heading and some sub headings.
Now we can update our table of contents. to do so, click the table, then click the drop down box up the top left, and choose to update the table. And it will look like this.Adding a table of contents to Microsoft Word 2010 for Windows
Our first step would be to open Microsoft Word, and create a blank document. Once done, insert a page break by choosing the Page break option from the Insert menu up the top. On the second page that is created, choose the references tab from the list of tabs across the top of the application, then choose the "Table of Contents" option.

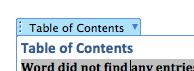
The reason we create the table on the second page is so that we can use the first page as our cover page. You will get an information box informing you there are no headings yet, that's fine, that is out next step.
The reason we create the table on the second page is so that we can use the first page as our cover page. You will get an information box informing you there are no headings yet, that's fine, that is out next step.
You will get something that looks like this following:

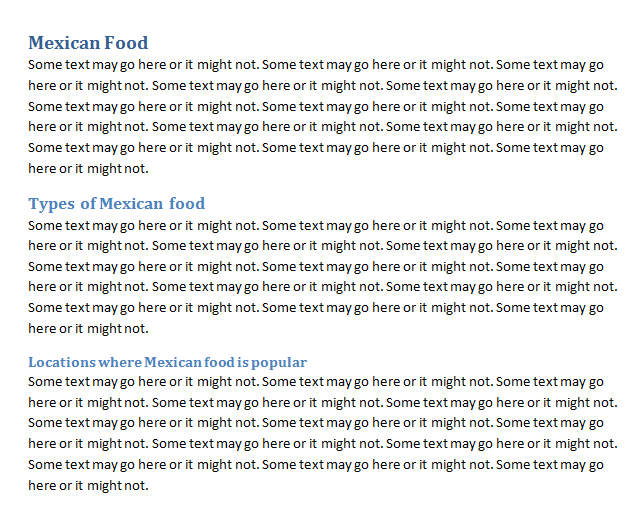
 Choose from heading 1, 2 and 3 and start typing
 Now that I have my headings written down, and a bit of text, we can go back to the table of contents, and update it to reflect the new headings, and their page numbers.

That's it! Easy to do, and it looks great. If you have any questions or comments, please add them in the comments section below.
This is good. This means that your table of contents is now reading the document, and looking for headings. Insert another page break after the table of contents text.
Now lets say for this particular project we are writing an assignment about Mexican Food. We then need to enter some headings and sub-headings and so on.
Under the home tab, look for the "styles" section, look for the arrow pointing down with the line on top to expand the menu and you can see that there are plenty to choose from to help define your table of contents and how your tiered look will shape out to be.

This will automatically update as you change and move sections of your report around all you need to do it click the "update table" button and it updates to the current information it pulls from the document.

That's it! Easy to do, and it looks great. If you have any questions or comments, please add them in the comments section below.
If you liked this post, or found it useful, please feel free to share with your friends to pass the info on using the buttons below.
No comments:
Post a Comment